Key takeaways
- The slot wired directly to the CPU is fastest; check your manual to identify it for a Gen4 or Gen5 drive.
- Secondary slots run through the chipset and may share bandwidth with other devices, which is fine for storage drives.
- Confirm the slot supports your drive’s length, typically 2280, which most desktop drives use.
Installing an M.2 NVMe SSD is one of the most satisfying upgrades you can make: it is fast, inexpensive, and it transforms boot times and game load speeds. The tiny gum-stick drives slot directly into your motherboard, so there are no cables to route, and the whole job usually takes less than ten minutes once you know where everything goes.
This guide walks you through installing an M.2 SSD safely in 2026, from finding the right slot to seating the drive and getting it recognized in Windows. Whether you are adding a speedy Samsung 990 PRO or a blistering WD_Black SN8100, the steps are the same and beginner-friendly.
Our top picks
 Samsung SSD 990 PRO 2TB
- Product Group: Personal Computer
- Binding: Personal Computers


 SANDISK 500GB Optimus 5100 NVMe SSD
- Product Group: Personal Computer
- Binding: Personal Computers


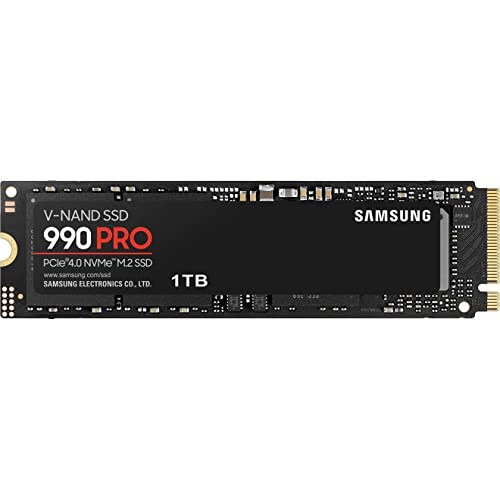 Samsung SSD 990 PRO 1TB
- Product Group: Personal Computer
- Binding: Personal Computers
As an Amazon Associate we earn from qualifying purchases at no extra cost to you. Ratings are shown as listed on Amazon.
⚡ Save on Your Next PC — Amazon Prime
Prime members get fast free shipping on the systems above, plus early access to Prime Day & Black Friday PC deals. New members get a 30-day free trial.
Watch: How to Install an M.2 NVMe SSD — Video Review
Locate the M.2 Slot
Power down and unplug your PC, then open the case side panel. Look on the motherboard for a small horizontal slot with a tiny screw or standoff a few centimeters away, usually near the CPU or between the PCIe slots. Many boards have a heatsink over the primary M.2 slot; remove its screws to reveal the connector.
Choose the Right Slot for Speed
- The slot wired directly to the CPU is fastest; check your manual to identify it for a Gen4 or Gen5 drive.
- Secondary slots run through the chipset and may share bandwidth with other devices, which is fine for storage drives.
- Confirm the slot supports your drive’s length, typically 2280, which most desktop drives use.
Insert and Secure the Drive
Hold the SSD by its edges and insert it into the slot at about a 30-degree angle until the connector is fully seated. Then press the free end down flat and secure it with the small mounting screw or the board’s tool-free latch. If your board included a thermal pad under the heatsink, peel its film before reattaching the heatsink over the drive.
Boot and Initialize in Windows
Close the case, reconnect power, and boot up. If the drive is new and blank, it will not appear in File Explorer yet. Open Disk Management, and Windows will prompt you to initialize the disk (choose GPT), then create a new volume and format it. Your SSD is now ready to use.
Migrate or Fresh Install
If this drive is your new boot disk, you can either clone your old drive using cloning software or perform a clean Windows install for the best results. For a secondary game or storage drive, simply format it and point Steam or your apps to the new volume.
Tips
- Keep the screws handy: M.2 screws are tiny and easy to lose; a small screw kit is worth having if your board did not include one.
- Use the heatsink: Gen4 and Gen5 drives run hot, so use the motherboard’s M.2 heatsink to prevent thermal throttling.
- Handle by the edges: Avoid touching the gold contacts or chips to prevent static damage.
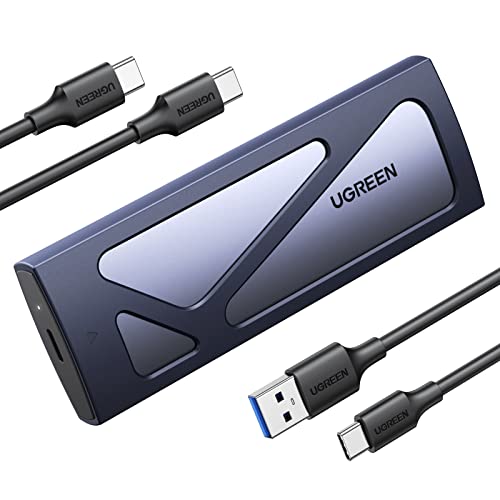
- Consider an enclosure: An external USB NVMe enclosure lets you repurpose an old M.2 drive as fast portable storage.
Frequently Asked Questions
Which M.2 slot should I use?
Use the CPU-connected slot for your fastest boot drive, and secondary chipset slots for additional storage. Your motherboard manual labels which slot is which.
Why doesn’t my new SSD show up?
A brand-new drive is uninitialized. Open Disk Management, initialize it as GPT, then create and format a volume, and it will appear in File Explorer.
Do I need a heatsink for my M.2 SSD?
For Gen4 and Gen5 drives, yes, a heatsink helps avoid thermal throttling during sustained transfers. Many motherboards include one over the primary slot.
Can I install Windows on the new drive?
Yes. You can clone your existing installation or do a clean install by booting from a Windows USB and selecting the new SSD as the target.
Conclusion
Installing an M.2 NVMe SSD is a quick, cable-free upgrade with a huge payoff in speed. Find the right slot, seat the drive at an angle and screw it down, use the heatsink, and initialize it in Disk Management. In under ten minutes you will have dramatically faster boot and load times, and plenty of room for your growing game library.